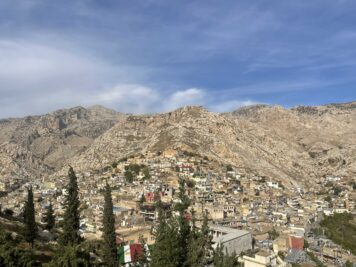
One sunny day we left our stuff behind in Kathmandu and set off to Syabru Besi, a little town on the edge of a mountainous national park. From there we spent seven days straight trekking in the Langtang valley, stopping each afternoon in one of the villages along the way where hikers can get food and a bed, and sometimes a hot shower.
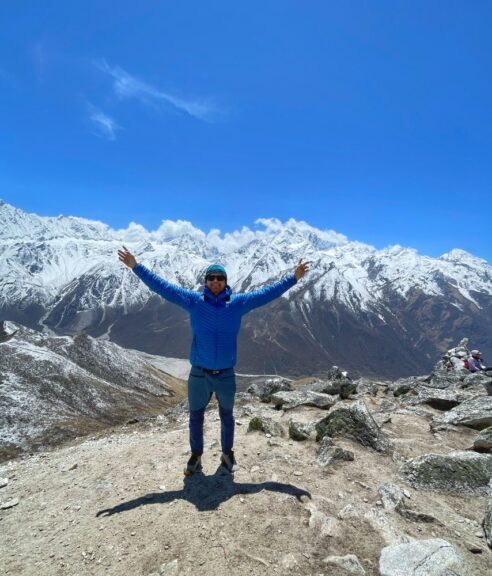
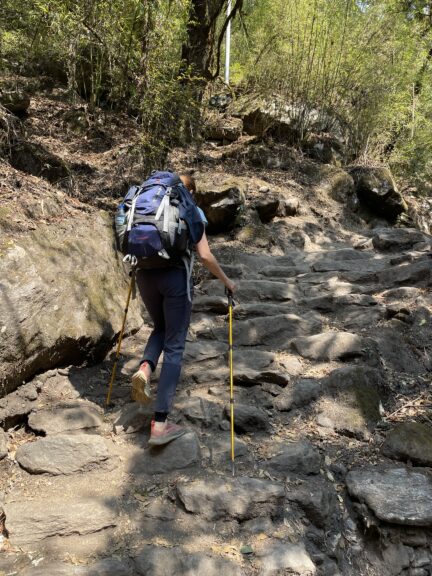
Climbing from 1400m to 5000m it was a steep trek in bright sun, sharp wind, thin air, and eventually a bit of snow. Green forest and rushing streams gave way to scrabbling over barren scree and piles of boulders. Every day was different – and a little bit harder – altitude gives new meaning to breathtaking scenery. Oyv got a nasty blister and that was the worst of it, no helicopter rescues needed.
Trekking the Langtang valley is an amazing experience. Thinking about taking it on? In this post I’ve outlined our seven day trekking itinerary, and provided information to help you plan your own trek:
Guide or DIY?
Before you go – planning your trip
Getting there
On the trail – our itinerary
Kathmandu, and moving on
If you like hiking, mountains, and some fantastic scenery, this trip’s got it all. I’ve written a story about our experience on this trek, too, you can read it here.
Guide or DIY?
We really wanted to go it alone, but when we researched trekking in Nepal a lot that we read indicated that a guide is required for most treks in the country, both for safety reasons and also just plain rules. At the same time we’d heard that it was entirely possible to do it yourself.
Then we had a chat to the owner of our homestay in Kathmandu, who is a former trekking guide. He told us that a guide is only mandatory for the Mustang valley, which does require special permits. Meanwhile, other popular treks like Langtang valley, Everest Base Camp and the Annapurna circuit don’t require a guide (or special permits). We’d also read that you need a TIMS card to trek in Nepal, but the homestay host pointed out that the TIMS card is only necessary if you trek with a guide (for guide insurance purposes).
We decided we’d just give Langtang a go without a guide and turn back to Kathmandu if it didn’t work out for any reason. As it turned out, we had no problems: there were several registration points along the way where the police and/or park officials simply asked if we had a guide and when we said no, they noted that down along with our local phone number. No one insisted we needed a guide or even mentioned the TIMS card to us.
If you do hire a guide that probably means you’re booking the full package and won’t have to plan or worry about anything along the way (route, rooms, food, etc.).
Whether you would better like to go independently or with a guide is entirely subjective and we don’t know what the ‘official’ final word is on the subject. To sum up, according to our experience:
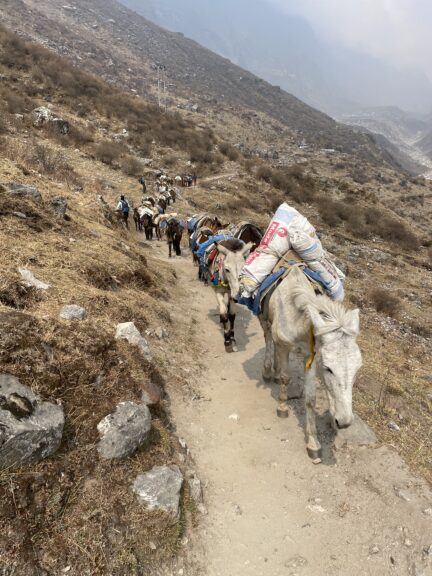
- We hiked Langtang valley by ourselves without a guide. You can certainly hire one/book a tour if you’d prefer. Most people we saw did have a guide and porter(s).
- The trail was busy, even at the start of the season. We didn’t worry that we’d be all alone and something would happen.
- With maps.me it was easy to plan and follow our route. In addition to the route itself, we found all the settlements and most of the guesthouses on there, plus detours and viewpoints.
- You don’t need to buy park permits in advance in Kathmandu, you can just buy them on entry near Dunche.
- No one asked us for a TIMS card.
Before you go – planning your trip
There are a few things to think about hiking this route, especially if you go without a guide and porter(s):
- Can you carry all your stuff yourself?
- Do you know how your body will react to high-altitude trekking?
- Are you ok finding accommodation as you go or do you want it reserved in advance?
- Have you got the gear?
Make sure you have enough cash, get a SIM card (but don’t count on it), and download maps.me (or a similar app).
The best seasons to trek to Langtang are autumn (October-November) and spring (March to May). We spent seven days in mid-April trekking in the Langtang valley from Syabru Besi to Kyanjin Gompa and back again. We stayed three of the nights in Kyanjin Gompa, from where we climbed two peaks, Kyanjin Ri and Tserko Ri.
Sleeping and eating
There are guesthouses at pretty regular intervals along the route offering bed, dinner, and breakfast. You can also stop at any of them for lunch or a break. We didn’t make any accommodation bookings in advance and simply went with the flow. This could be more problematic during the peak season and you might want to book ahead.
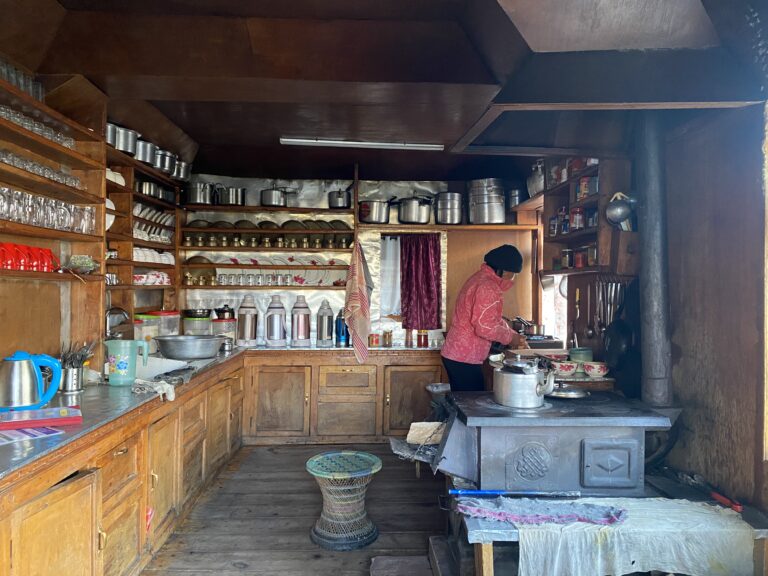
Guesthouses generally quoted us around 500 rupees, or ‘free’ with the understanding that you eat dinner and breakfast there. Menus are the same in terms of variety (or lack thereof) and cost, pretty much everywhere. Most guesthouses have showers, indoor toilets, and many have WiFi depending where you are. They usually provide bedding but if it’s early or late in the season you might want to bring a sleeping bag too. We brought two, Oyv never used his. Guesthouses rarely (if ever) provide toilet paper. I don’t think I saw a square of it. Bring a flashlight, in case of outdoor toilets – and unreliable power at night either way.

Guesthouses usually sell basic provisions (biscuits, insanely expensive bottled water, etc) too, and probably souvenirs if you wanted to carry something more on your back.
You’ll probably be able to charge your devices at most guesthouses, but not always – bring a powerbank. Our (Ncell) SIM card did not work the entire time after Syabru Besi. Some people had better luck with an NTE SIM card. We had WiFi from time to time at guesthouses and didn’t have to pay for it – but don’t count on it.
Costs
Your budget needs to include park entry permit (3000 rupees per person), transport to/from Syabru Besi (about 1000 rupees per person each way) plus a night or two’s accommodation there (500 – 1000 rupees per night), and all accommodation and meals on the trail. Obviously you need to bring all the money you’ll need with you in cash.
We spent approximately 3000 rupees (22 USD) per person per day on meals and accommodation on the trail. Our costs spiked a bit in Gompa what with the bakery and cafe there. Bring a water filter or pay through the nose for bottled water (300-400 rupees), plus leave a swath of plastic behind you.
Things to bring
We’re travelling long term so we aren’t carrying the stuff we need for high-altitude trekking. No problem: we easily bought or rented everything we needed in Thamel, Kathamandu. The only hitch there was no one was renting good down sleeping bags – only synthetic, bulky ones which were a b**ch to carry. Otherwise, our packing list included:
- passport
- cash
- Maps.me (or similar app)
- powerbank
- flashlight
- toilet paper
- water filter
- sunscreen
- smartwatch with O2 blood level indicator
- basic first aid kit
- equipment: trekking poles, sleeping bag (early and late season), shoes with good grip, good clothing in layers, comfortable backpack
Getting there
You’ll probably start your trek from Syabru Besi, as we did. We travelled by bus from Kathmandu’s Machha Pokari bus stand. Although we were advised to get the bus tickets a day in advance, the bus was nearly empty the next day when we went. This could be more of an issue in high season – in mid April, we were just a bit ahead of the season.
You can also travel by shared jeep in either direction, that’s about 1300 rupees. It should be a bit faster than the bus but is also much more cramped (no legroom always feels great after a seven day hike!).
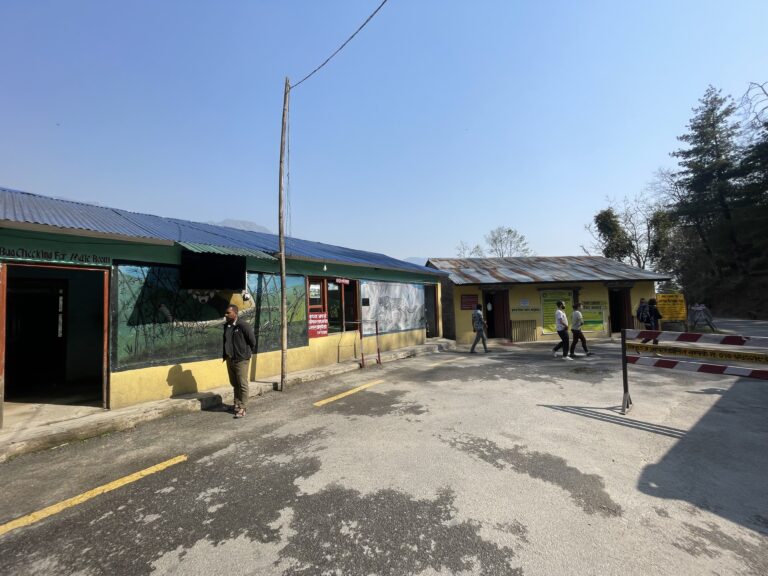
Buses were leaving Kathmandu in the morning at 6, 7, and 8 am. It took six-seven hours to reach Syabru Besi and cost 960 rupees each. Right before Dunche, the bus stops at Langtang National Park office. There you register with the police and pay your park entry permit fee: 3000 rupees (1500 rupees for SAARC countries). It’s a one-time fee good for the entire time you stay inside the park. The bus carries on to Dunche and you register with the police again.
It’s a beautiful drive on a steep road in varying states of disrepair, with some impressive hairaising hairpin bends. I mainly closed the curtains during large parts of the ascent and descent, although many others seemed to enjoy the view of certain death if anything were to go wrong.
As we spent most of a day getting there, we stayed the night in Syabru Besi and set off hiking the next morning. There are plenty of places to stay in town, of varying (mostly grim) quality.
On the trail: our itinerary
This post is about our experience trekking from Syabru Besi to Kyanjin Gompa, and then doing some day treks from there. You can follow along or adapt any part of our itinerary to suit yourself, breaking up the days according to where you’d like to stop for the night.
All the trekking times here include stops to look around, take photos, or eat lunch. We are both in reasonably good shape so rarely found the hike in itself challenging in terms of exertion, but there are steep or rocky sections, and a ridge or two so it’s a tiny bit hairy in places. There are also a lot of steps and upward climbing which is tiring of course, especially once you factor in the steadily increasing altitude. And, depending on time of year and seasonal considerations, you can get stretches that are wet, muddy, or snowy (we had all of those at one point or another on the day hikes from Kyanjin Gompa). Remember to take it slow and give yourself time to acclimatize to the altitude, especially if you aren’t used to high-altitude hiking and don’t know how you might react.
If you would like to do more hiking in the area you can also set off for Gosainkunda.
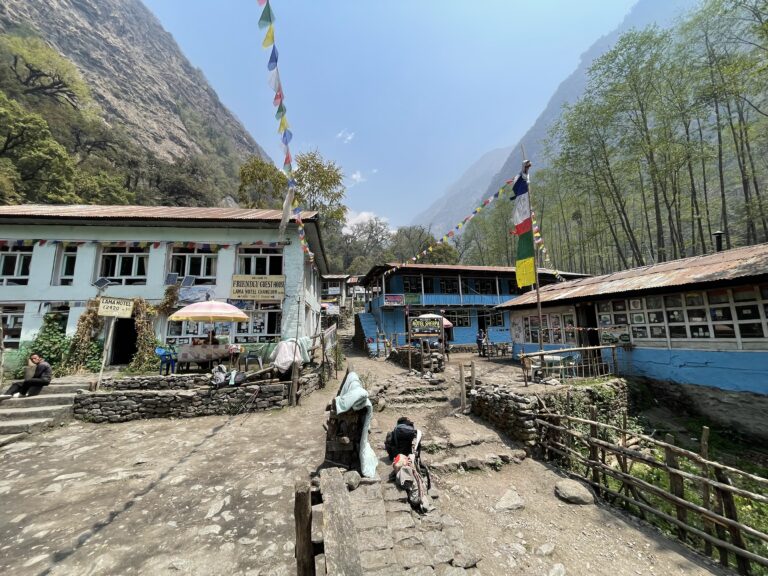
DAY 1 – Syabru Besi (1440 meters) to Lama Hotel (2500 meters)
When you set off from Syabru Besi your very first stop before leaving town is at the tourist police. They asked if we had a guide and didn’t seem at all bothered when we said no. Again, they recorded our passports and local phone number, and gave us a list of emergency contacts in the park.
It’s about 12 kilometers from Syabru Besi to Lama Hotel ascending around 1100 meters. After about an hour you’ll reach the first of many teahouses, and then the trail gets steeper. We reached the settlement called Bamboo two hours after that and stopped for lunch. After Bamboo the trail got steeper again and there was only one small teahouse (with no accommodation) before Rimche where we saw two guesthouses.
Accommodation in Lama Hotel seems to be pretty crowded and noisy.
We both found this day the hardest in terms of the trail just getting steeper all the time.
Time: 6-7 hours
Kilometers: 12
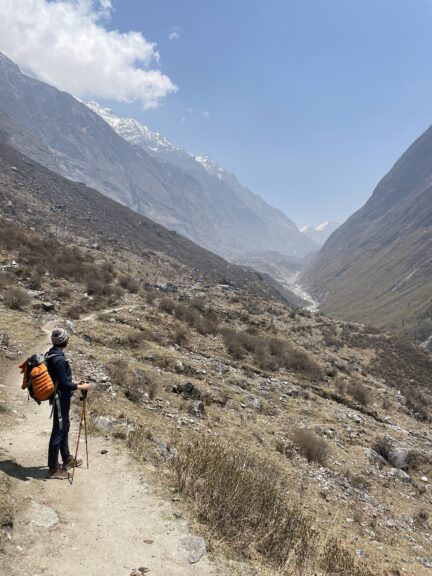
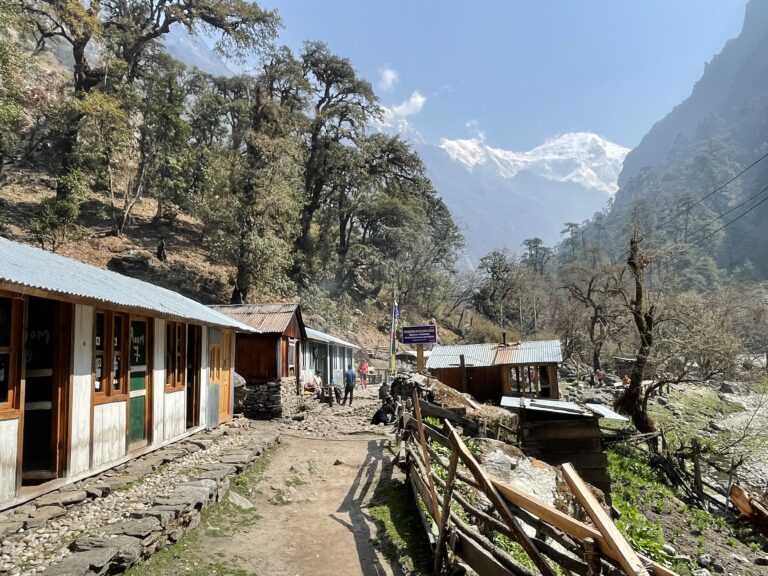
DAY 2 – Lama Hotel (2500 meters) to Langtang (3400 meters)
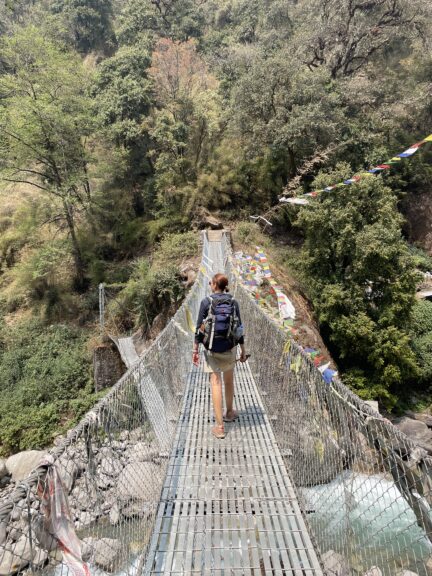
The second day was another 12 km hike ascending around 900 meters. After about three hours we reached Ghoda Tabela where there are a couple of teahouses with accommodation. Here you have to register with the tourist police again and show them your National Park entry permits. This whole stretch was really beautiful in the spring time with flowering rhododendrons.

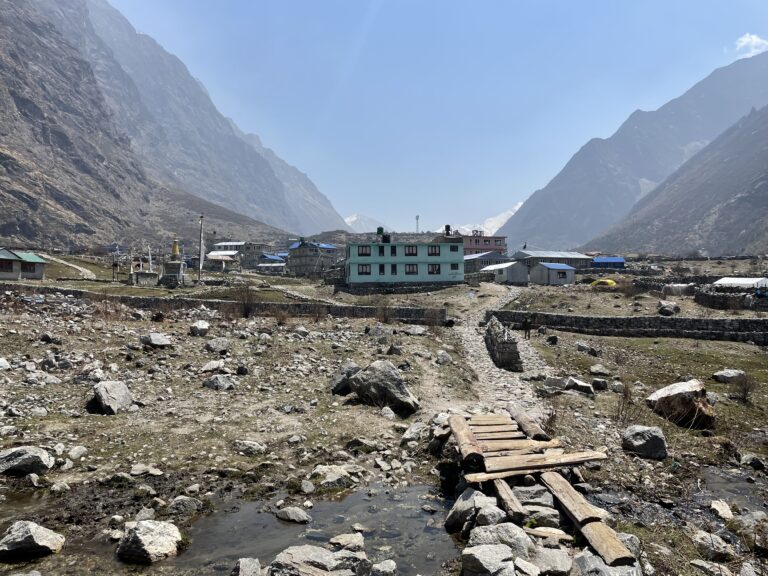
From Ghoda Tabela we just kept hiking onwards another three hours to Langtang and the valley started opening up in front of us. There are accommodation options just before and right after Langtang, as well as in the town itself.
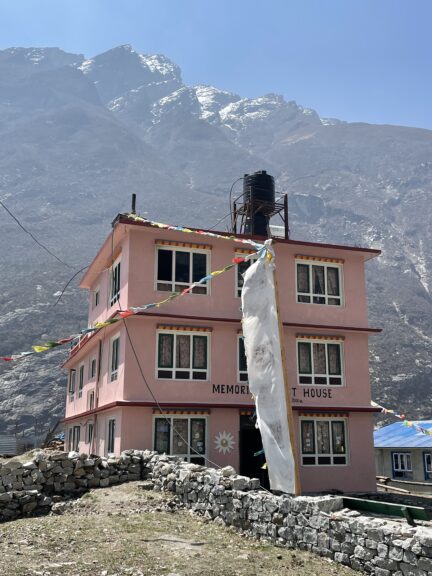
In Langtang we stayed at Memorial Guesthouse, which was nice and clean. They have WiFi and a comfy living room all centered around a wood stove (where you could string up your wet clothes to smolder during dinner:)). There are some bakeries and cafes here too.
Time: 7 hours
Kilometers: 12
DAY 3 – Langtang (3400 meters) to Kyanjin Gompa (3840 meters)
The leg from Langtang to Gompa is only a six km hike ascending 440 meters. It’s after 3000 meters that some people will start getting symptoms from high altitude sickness (headache, general fatigue, breathlessness, loss of appetite, difficulty sleeping etc.). It’s better to stay put or descend if the symptoms persist. Hydration is really important – you should drink three to four liters of water a day. Ascend gradually after 3000 meters and pay attention to how you feel.
We reached Gompa early and decided to enjoy the little town (i.e. eat cake in the very popular bakery there). Gompa is the local metropolis and the base for many treks in the area and we stayed three nights for that reason. There are many nice walks you can do from Gompa, including ones where you don’t have to climb, and that’s good if you are taking some time to rest and acclimatize (we met many people who were).
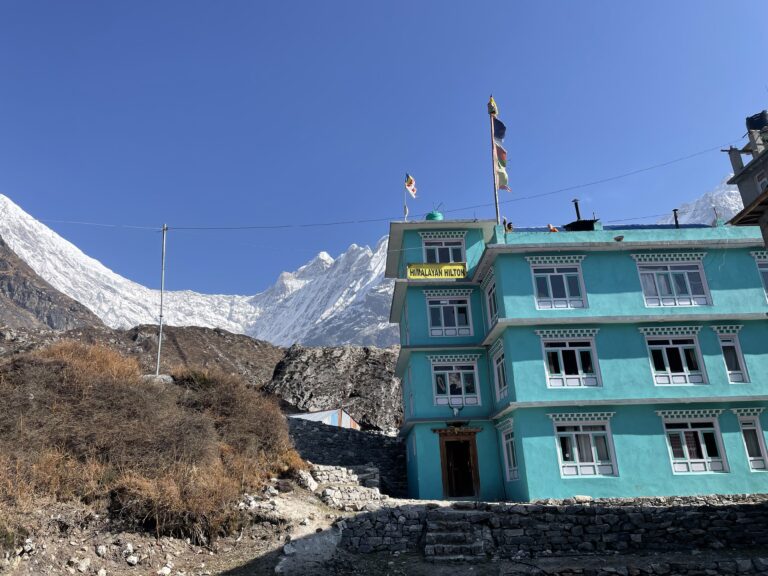
We stayed at Himalyan Hilton, which was nice and clean. They have WiFi and serve up good food. It is also a little removed from the heap of guesthouses in town.
Time: 3 hours
Kilometers: 6
DAY 4 – climbed Kyanjin Ri (4773 meters)
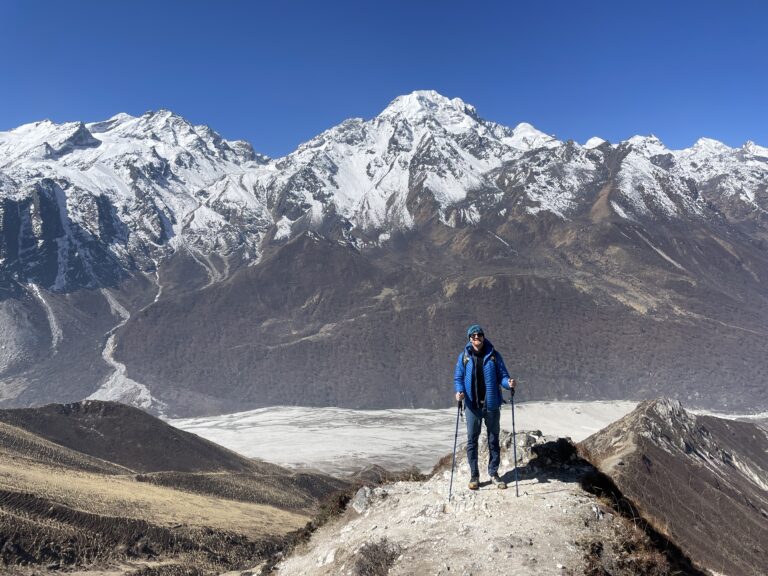
The sun was shining, and snow fell the last night before. The weather was amazing. This day was the highlight for us both.
The hike up to the peak at 4773 meters is moderately challenging (remember your trekking poles and bring the sunscreen). Follow your map and be aware that the trail does fork at one point, where you should keep left. The route to the right is the alternative easier way down.

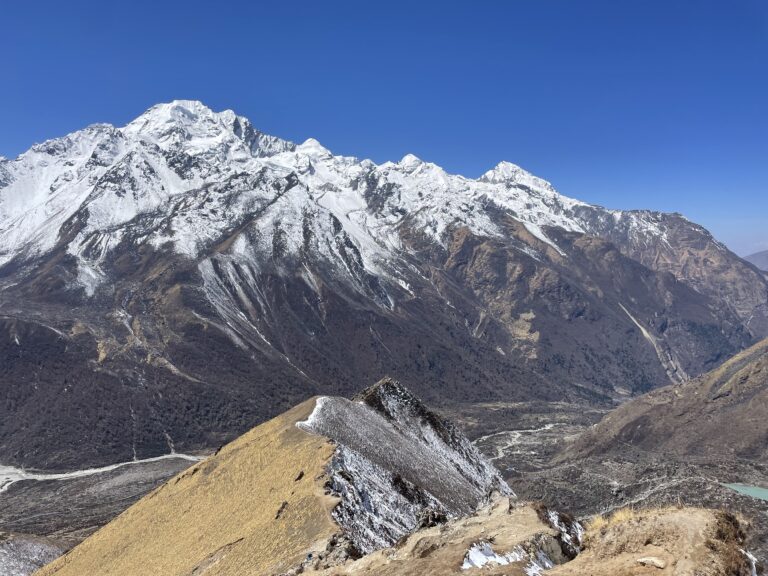
There is a lookout on the way. We plotted it into Maps.me first, and it took us about 1.5 hours to reach it at 4360 meters. After the lookout we had to go over a bit of a ridge which one of us found somewhat alarming, but it is certainly doable. Another hour and we reached the peak at 4773 meters! There are beautiful views in all directions.
You can go the same way down, but there’s the other route I mentioned which seemed an easier descent and also made a nice loop, so we took it. It’s marked on Maps.me.
Time: 6 hours
Kilometers: 5 km
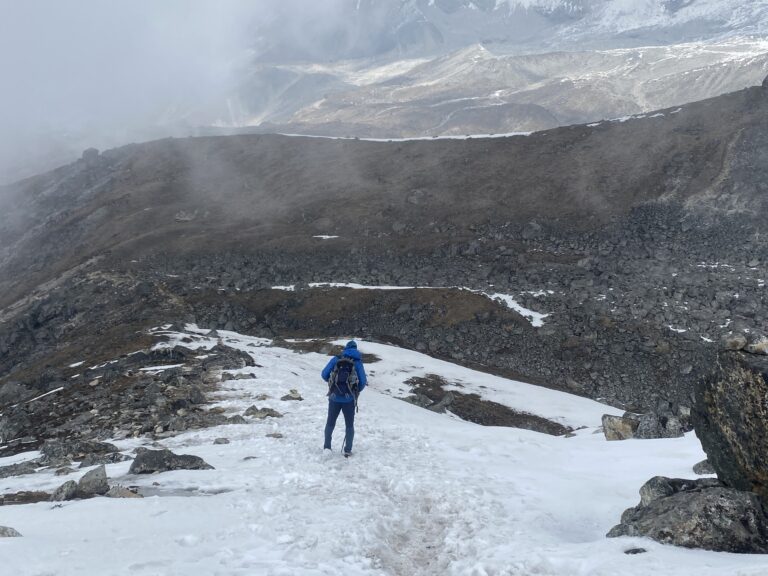
DAY 5 – climbed Tserko Ri (disputed at 4985/5033 meters)
The hike started out quite easy and gradually got harder as we went along. It didn’t get technical, but early in the season there was a fair bit of snow on the top and muddy tracks from melting snow.
Check the weather forecast before you set off and keep in mind weather changes fast in the mountains.
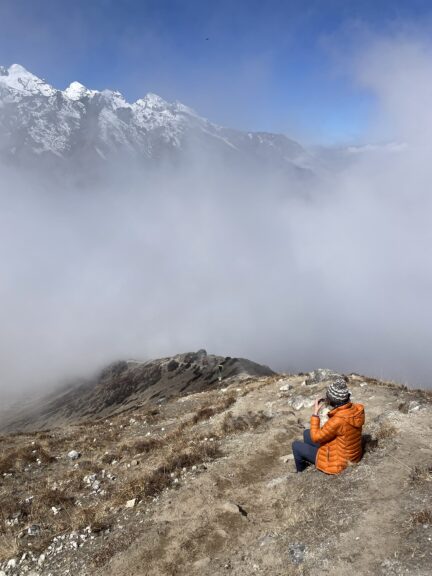
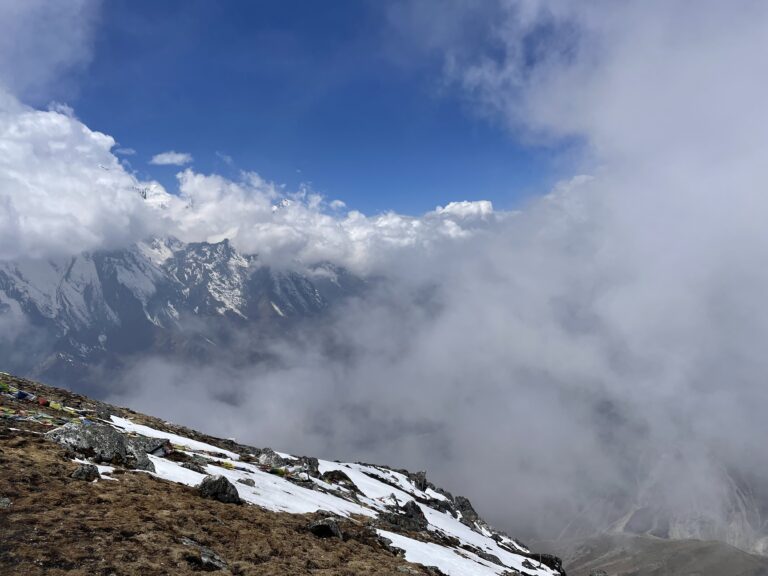
It took us about three hours to reach the top at 5000 meters. Since it was very misty we went down the same way, about two hours. There’s an alternative way down on Maps.me, which makes a loop around the mountain.
Time: 7 hours
Kilometers: 8
DAY 6 – Kyanjin Gompa (3840 meters) to Gumnachok (2790 meters)
Time to go! On our way up the valley we’d scoped out Riverside guesthouse (Gumnachok), about 1.5 hours walking past Lama Hotel. Having spent the night in Lama it was a bit soon to stop again so we decided to stay there on the way back down. They only have a handful of rooms, so during high season if you want to stay there get their WhatsApp number and book ahead. As it was we walked in quite early in the afternoon and got the last room.
If you want to you could probably walk all the way back to Syabru Besi in one looong day. We wanted to stay at Riverside and weren’t in a hurry so we split it up.
Time: 5.5 hours
Kilometers: 11
DAY 7 – Gumnachok (2790 meters) to Syabru Besi (1440 meters)
We had plenty of time so we just hung out at Riverside having a breakfast and coffee. The walk back down the rest of the way was a bit tedious as it felt like never-ending steps (somehow didn’t seem like that on the way up).

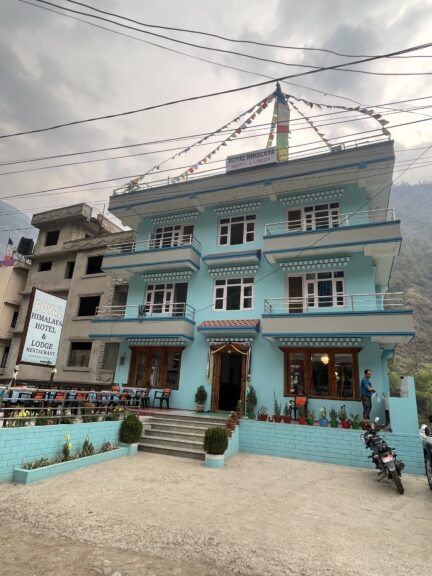
Beer in Syabru Besi tasted really good when we got there. We’d planned to just return to the guesthouse we stayed at the first night, but then we stumbled onto the Royal Himalayan Hotel. It cost just a bit more and felt like paradise: hot showers, very comfy beds, bright room, all clean.
Time: 5.5 hours
Kilometers: 13
Kathmandu, and moving on
We bussed back down from Syabru Besi the next morning. The above hotel is right next to the bus stand which is handy. Same as the way up, we did not book in advance (but noticed that many others did). Shared jeeps run back down too.
Back in Kathmandu afterwards: beer and momos all around!
Read More
Check out the story I’ve written about our experience on this trek Onwards and upwards: from India to Nepal.
Or, if you’re still in India and planning to travel to Nepal by road: How to cross the Sonauli border between India and Nepal.

This Post Has 18 Comments
Hello,
I just want to ask, did the car take you from Dhunche back to Syabru Besi, where did your trek start from?
We are going to Langtang in 3 weeks and your travelogue really helped, amazing!
Hi, thanks, glad it helped you! We started and ended our trek in Syrabru Besi…in the first place, we got there (and back again) by bus to/from Kathmandu, via Dunche. The buses stop in Dunche in both directions. There are shared jeeps too and probably plenty of other public transport.
where i can find your maps.me route map.
We didn’t save a route map. It’s super easy, just plot and follow the trail from place to place.
Amazing article and photo graphs, thank you so much.
Thank you so much for such a thorough post, much appreciated! I have couple questions – thanks in advance if you have time to respond:
– I’m an experienced trekker, wanderer and wilderness guide in the states. Do you think this trek would be fine to do solo (I’ve done a lot of solo wilderness trips, including the Dolomites and Alps last year, camping and not staying in huts – though I would plan to stay in tea houses on this trip)
– Does maps.me work off-line, and is that something you paid for?
– Do you have an approximation of the total cost you spent on this trek?
Thanks again!
You’re welcome, I’m glad it helped! So in answer to your questions, I would say yes, if you feel you’re up to it based on your experience (it’s subjective, right) you could go solo. I suppose it depends on time of year but you should see people regularly along the trail and you’ll pass plenty of teahouses. And you’d want to consider how you handle higher altitude hiking, of course.
Maps.me is free, off-line, and had all the info we needed. I talk about sim cards in this post – have a look at that, you might want to bring two different ones.
Costs – I have a brief run-down on costs in this post, I don’t have the total offhand but you could figure it out – suffice to say it was not a lot. Biggest expense you’ll have is the park fees, after than water. Accommodation and food, cheap.
If there’s anything else I can help with let me know! Otherwise – have such a good time 🙂
Thank you so much, Sarah! Yes, I am confident and comfortable hiking solo. I don’t have experience with high altitude so I would approach that carefully.
I would plan to bring a water filter to avoid buying bottled water.
Thanks for your good wishes!
Thank you, this really helped me in planning! Are the checkpoints you mentioned all or are there more points where you need to show your passport / permits?
You’re welcome:) The ones I mention here are all we encountered but I suppose there could be another at any time. They don’t take long and aren’t a big deal.
Hi Sarah ,
Thank you for sharing a detailed journal of your trip 🙂
I am keen to know the month you trekked Langtang .
I am planning during 2nd week of March or 2nd week of April this year .
Thanks in advance 🙂
Hey, you’re welcome:) This was mid-April.
Is april a peak time for langtang valley ?
Thank you so much for sharing. Keep it up and update more information.
Hello , Sayan here from India can I get information about the tea houses you stayed along the way…along with the hotel at kathmandu as well.
Hello Sarah, this is awesome blog, thank you for sharing all the details about Langtang Valley and this blog will really helpful for the tevellers who are planning to travel Langtang trekking trail. Himalayan Vista
Beautifully written, Sarah! Your love for remote and soulful places really shines through in your Langtang experience. It’s refreshing to read a blog that values the journey itself as much as the destination. Langtang’s quiet trails, warm-hearted locals, and raw Himalayan beauty are often overlooked, and you’ve captured that magic perfectly.
“Such a wonderful post! I really enjoyed reading it – very informative and beautifully written. Looking forward to more of your posts.